


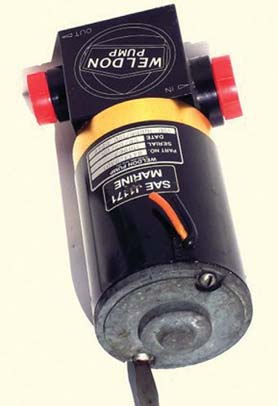
Mercury Racing chooses Weldon electric fuel pumps as they deliver fuel to their high performance engines and because they are noted for their durability. When used in a marine application they will last longer if waterproofed. The biggest problem is when the boat sits for a month or two in storage. It is critical that the fuel filter be changed automatically as the moisture eats it up. This especially happens down south. These small fuel filters are located between the blowers snouts.
Believe us. PRA knows the importance of this as we have witnessed first hand with several pumps that have broken down on us in the past. There is nothing more dangerous than running full throttle as a pace boat for the SBI Key West World Championship races or during an afternoon at a poker run, running just 100 feet in front of another boat, then the fuel pump breaks down. You have to be sure that a fuel pump is operating properly aboard your performance boat or the boat behind you just may end up in your cock-pit! Waterproofing your fuel pump is essential to avoid any breakdowns on the water and you can prevent this by following this procedure.
Simply To remove the pump from the engine disconnect the wires; remove and cap the fuel lines and remove the pump, then loosen the two screws on top of the pump motor, which hold it to the pump. Don’t remove them completely or the housing can move beyond the brushes, then it will be difficult to put it back together. It is only necessary to back them out four turns. This will allow the end cap to separate from the housing about one sixteenth inch. Then the gap can be cleaned with solvent and filled with a bead of RTV.
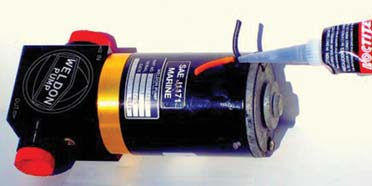
STEP 1
Loosen the 2 screws in the top which hold the motor to the pump four turns only, don’t take them out. Now the top cap can be separated from the housing about a sixteenth of an inch.
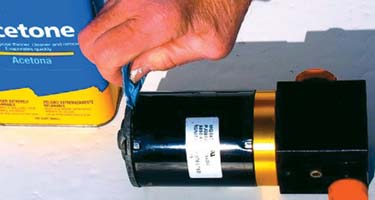
STEP 2
Clean the gap with a little cleaning fluid on a cloth or piece of towel.
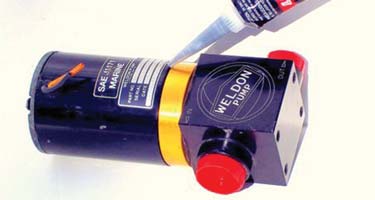
STEP 3
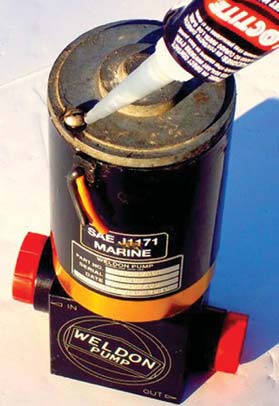
Fill the gap with a bead of RTV.
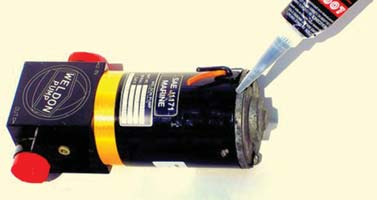
STEP 4
Wedge the housing against the end cap and place a bead of RTV in the gap.
STEP 5
Tighten the two screws, then loosen one at a time and put a dab of RTV under each screw head and tighten.
STEP 6
Place a gob of RTV in the opening the wires come through, mold it around the wires with fingers.


