


Maintenance Series:
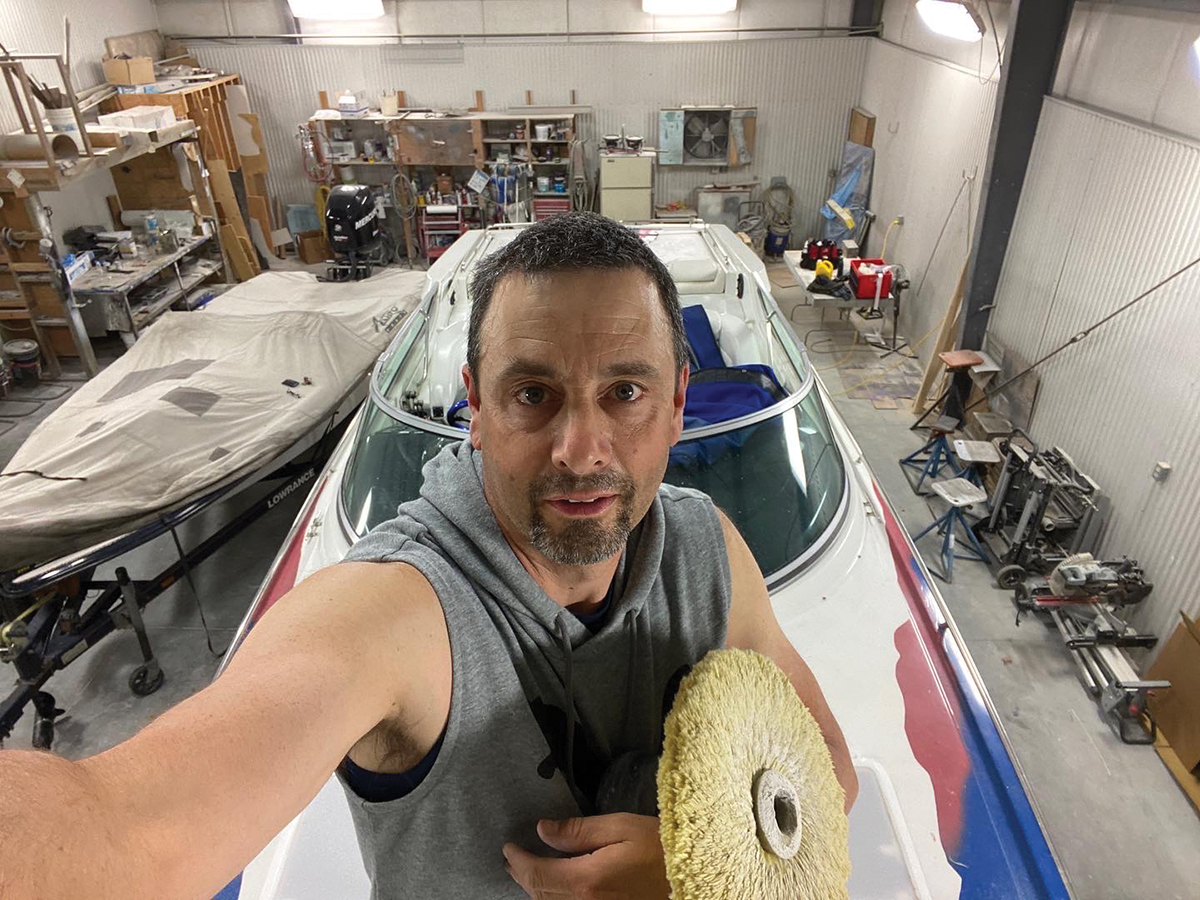
Polishing a boat takes time and hard work but the results are worth it.
by Gregg Mansfield
Whether you live in a state with year-round sunshine or the boating season is condensed into five months, spring is a good time to tackle maintenance on a powerboat.
With a lot of elbow grease, boaters can save significant money and take pride in their work. The good news for people currently living in the frozen tundra, the work can be done in the middle of winter and the boat will be ready for spring.
Eric Spath and Tim Boyle, co-owners of Top Polish and Shine, likens hull-and-deck maintenance to a skincare routine.
“Gelcoat is similar to skin in that they’re both porous, impacted by humidity and the sun,” Spath said. “The big difference is that skin replenishes, gelcoat doesn’t.”
Time Commitment
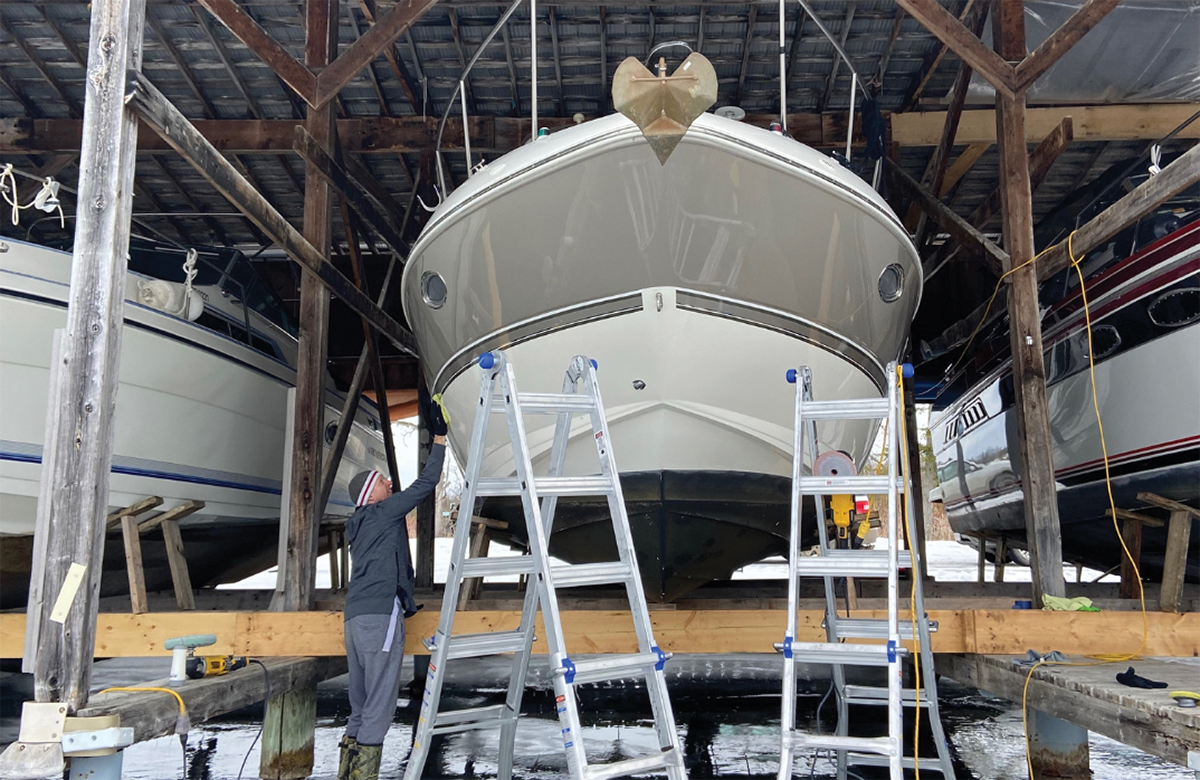
Compounding and polishing takes time, so boaters should be prepared to spend the weekend doing the work. For example, two professional detailers need 25 to 30 hours to detail the hull and deck of a 30-foot boat.
Spath suggests breaking the job into bites, focusing on smaller sections and completing the work. Leaving an area exposed—especially in the sun—will quickly create oxidation and require more work.
“The No. 1 question you have to ask yourself is if you have the time to do it because it’s a process that can’t be rushed,” Spath said. “Unless you’re just topping up the protective coat on your boat as a regular maintenance from a previous polish, it’s going to require tools and time.”
Tool Time
Buying the tools is a significant upfront cost but will quickly pay for itself after a couple of polishings. The main muscle should be a variable speed polisher and dual-action polisher, and Spath’s go-to is the Dewalt DWP849X. While there are ample battery-powered models available, Spath recommends buying a corded polisher to provide the power (and 2,000-4,000 rpm) needed for professional compounding/polishing and if you’re working near the water you have a cord to catch in case the polisher goes astray.
Invest in high-quality wool pads and take care of them as they can last multiple seasons. Spath suggests a mixed-blend pad for a deep cut and a 100 percent wool pad for a light cut. It’s good to have multiple pads to keep them fresh and performing well.
“We wash our wool pads every day,” he said. “It’s a simple process and a good wool or foam pad can last a long time.”
Paint or Gelcoat?
It’s important to know whether a boat was finished in paint or gelcoat because it helps determine how aggressive you can be when compounding to remove scratches and oxidation.
The fastest way is to call the boat manufacturer and they should have the answer.
If you are still unsure, rub your hand along the hullside feeling for subtle changes around the graphics. If it’s not smooth, there’s a good chance it’s either paint or graphics with a clear coat on top.
A definitive way is to take rubbing alcohol and a white cloth, rubbing it on an inconspicuous spot. If the spot starts to shine, it’s gelcoat. Another way to check is use a piece of sandpaper and gently rub a nickel-sized smooth area on the boat. If there are no fibers or doesn’t snag, it’s likely gelcoat.
Getting Started
The condition of a boat’s deck and hull will determine the next steps. If the boat was waxed regularly and has a good shine, it should be easy work. If the gelcoat has scratches or the finish is chalky, it’s going to require compounding.
The local marine store is a good source for information and will usually have the products to get the job done right. Follow the manufacturer’s directions and be aware of the temperature when applying the product. If it’s too cold or too hot, the product could fail and you will have to start the process over.

Start by washing the boat with a mild boat soap. For oil and algae scum on the hull, use an acid-based wash such as On and Off Hull/Bottom Cleaner. Once the boat is clean, start on the hull working on small sections.
“When you’re a new polisher, you will always put more polish and compound on than you need,” Spath said. “A little bit goes a long way with good products.”
Keep the polisher moving side to side, staying on one spot too long can burn the gelcoat and create unsightly swirl marks. It might take a couple of rounds to remove the oxidation and weathering, but if your boat is regularly maintained, one round should do, if it’s needed at all.
For scratches that can’t be removed while compounding, consider wet-sanding. Work in small areas, starting with a heavier grit and eventually ending with 2,000-grit sandpaper. The key is to keep the surface wet and tread lightly.
Beauty Hour
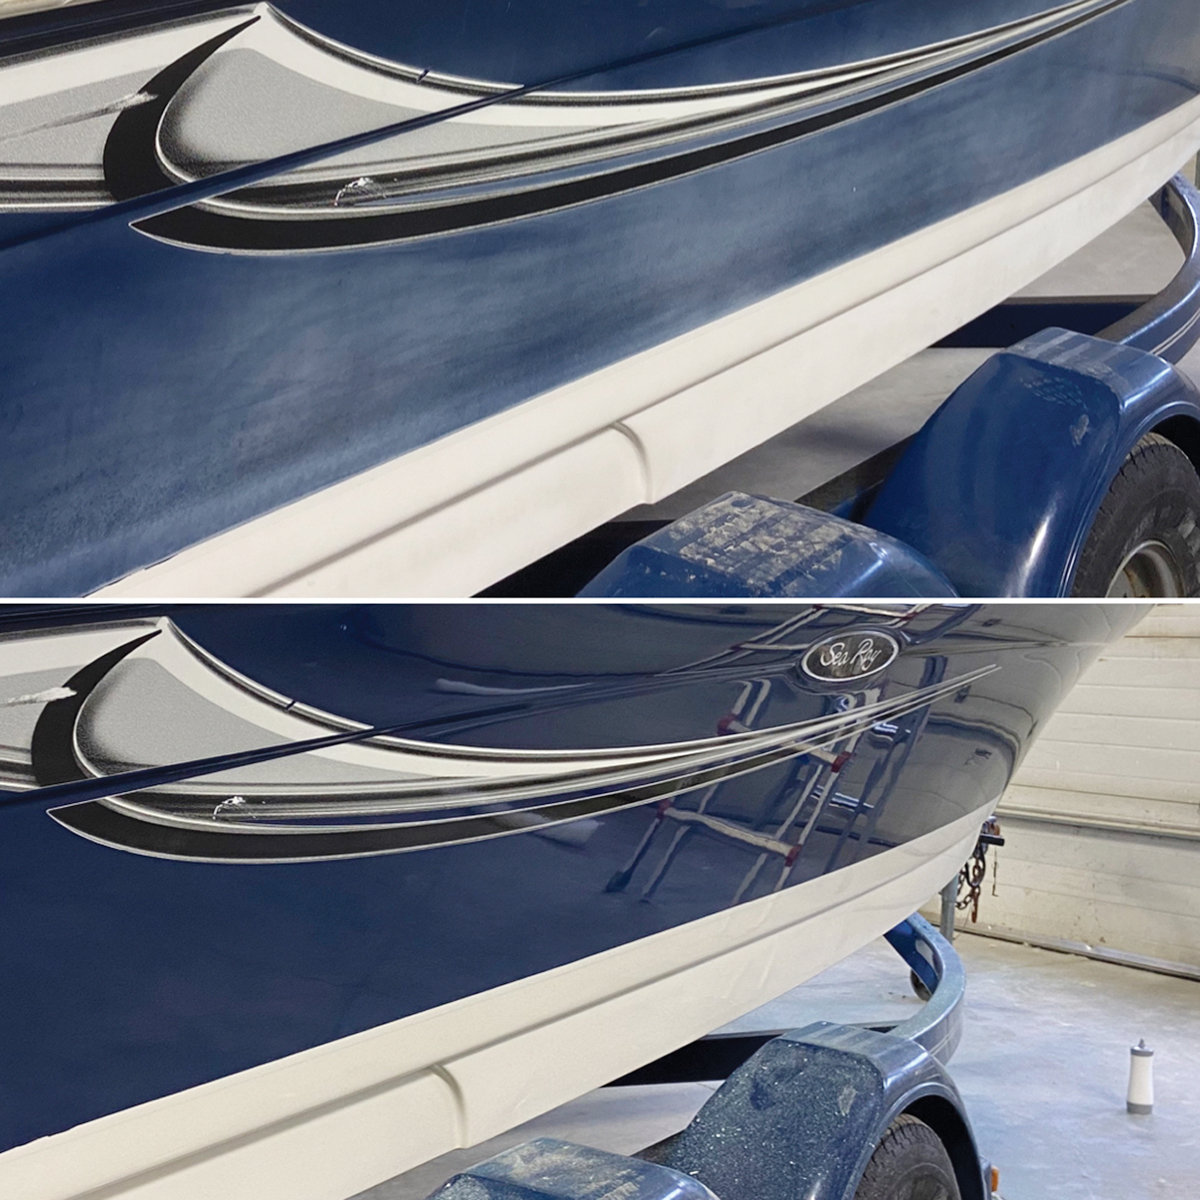
All the work prior leads up to the best moment—polishing the boat. Once the boat has been compounded, the oxidation process starts, so don’t wait long to begin polishing.
“The goal of polishing is to bring out the richness of the gelcoat, the light, the colors, the reflection, all that richness to the surface,” Spath said.
This is where a dual-action polisher with a foam pad can be used instead of a high-speed polisher.
Apply a small amount of polish in a 2- by 3-foot area and set the polisher with a foam pad to a low speed to begin and then increase to the recommended speed. Work the product side to side, moving toward the bottom of the boat. Swirls can be an issue with wool pads while compounding polishing, however a foam pad during polishing should remove them and bring out a wonderful reflection. Either way regularly cleaning your wool or foam pads is important.
Know Your Topcoat
When it comes to the final coat, boaters basically have three choices: wax, polymer and ceramic coating.
Ceramic coating is the holy grail of topcoats but will significantly raise the price because the application and removal must be done by hand. It offers up to two years of strong UV-protection and a glass-like finish. Spath recommends ceramic coating on boats with dark hullsides.
Waxes can be applied with a dual-action polisher and removed by hand, reducing the labor time. Waxes offer the least UV protection and a great shine, but the work should be done every six months.
Polymers, like waxes, can be applied with a dual-action polisher and removed by hand. It offers better UV protection than a wax, but its shine may leave boat owners wanting more. It requires a reapplication every six months, Spath said.
“Sealing your boat with the polymer sealant, a wax or a ceramic coat is really just trying to lock it in and giving you UV protection,” he said.
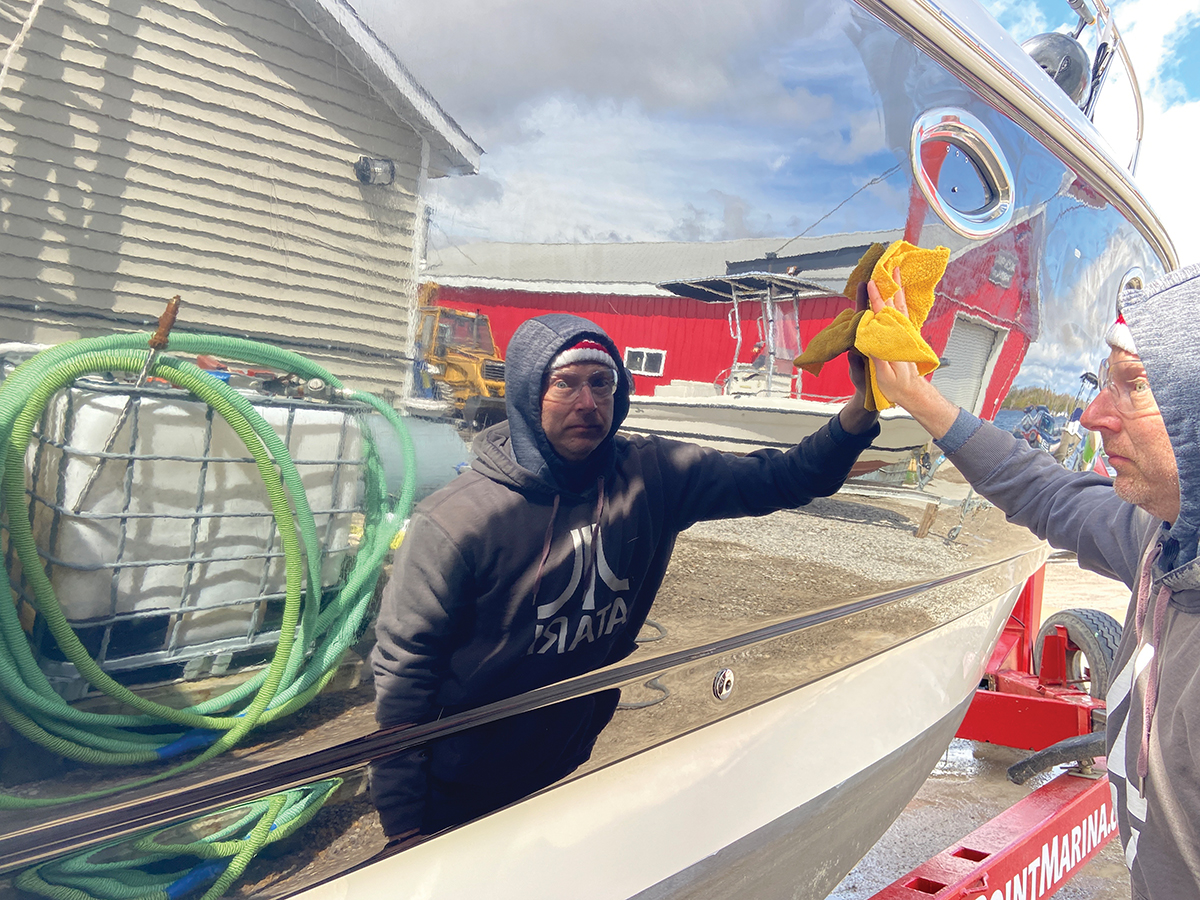
A Job Well Done
Bringing back the shine is hard work but with the right tools, materials and elbow grease, it’s a job most boat owners can take on. Next time you’re at the docks, appreciate the shine on your boat and enjoy a tasty beverage at the bar with the money you saved.
Editor’s Note: This is the first in a four-part series on boat maintenance. The next story will focus on the interior. Visit Poker Run America’s social media pages for more tips and how-to videos.


